Creating an asset
It is assumed that you have logged in, acquired the AIMS Administrator defered rights and created a classification. If not, please view the post on creating a classification before you continue.
- Step 1
Click on the New Asset button in the header bar
- Step 2
- Populate the required fields as a minimum. Start with the asset name
- Step 3
- Then the stage
- Step 4
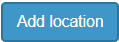
- You'll notice the asset builder button is disabled. This is because no location has been assigned to the asset. Locate the locations section and click on the Add location button
- Step 5
- Select an asset class you want the asset to belong to
- Step 6
- Select a route. Note currently there seems to be a bug if the route is restricted to a chainage range
- Step 7
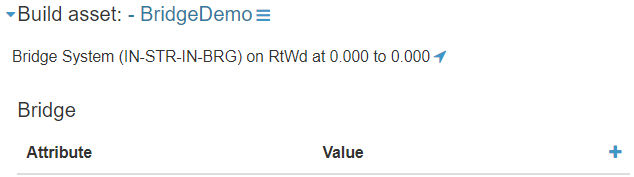
- Click the Asset builder button
- Step 8
- Expand the available class to reveal the blue plus
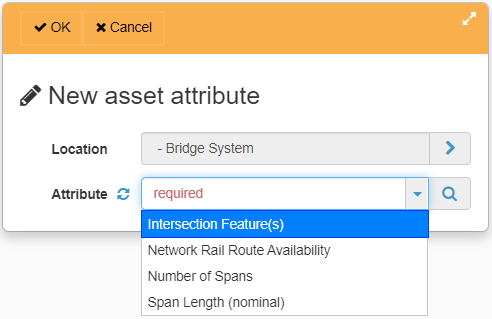
- Step 9
- Select an attribute you wish to assign to the asset
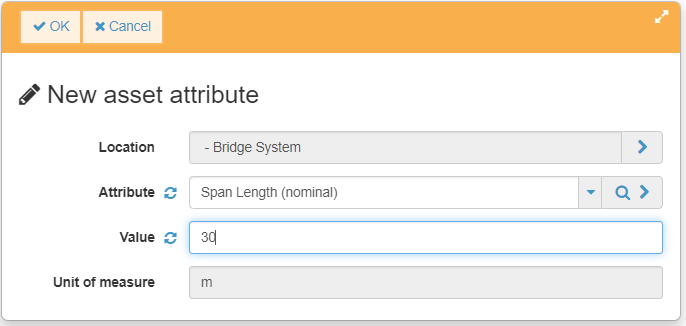
- Step 10
- Populate the asset attribute details
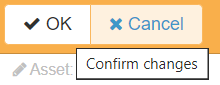
- Step 11
- Hit OK. Then hit the close button on the header bar
- Step 12
- Hit OK to confirm the attribute changes, then OK to confirm the asset location changes, then OK to confirm the asset changes
- Step 13
- The new Asset UAID will be shown at the top of the page